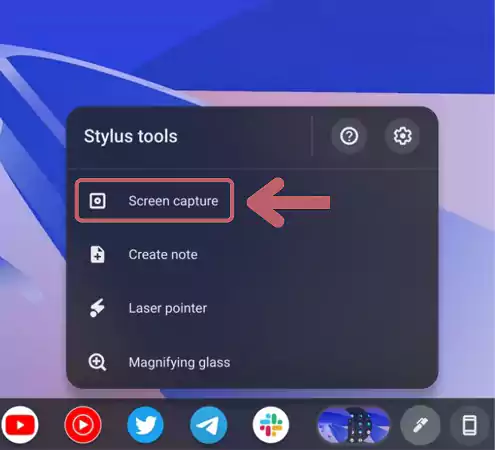
Yes, screenshots can be taken on Chromebook in tablet mode by either pressing the “Power and Volume down” buttons or using the stylus by pressing the stylus button, which will open a dropdown. Then choose the screen capture tool.
Taking screenshots has become one of the most fundamental tasks, and every operating system provides this outstanding feature, be it Windows, Linux, Android, or iOS.
The Chromebook is a versatile laptop that works on the Chrome operating system. However, its users often encounter doubt about how to take a screenshot on a Chromebook.
To resolve this query, we have listed the 6 simplest and most practical techniques to take screenshots on a Chromebook and speed up the process on your computer. These methods have been derived to take screenshots conveniently through different means.
Let’s explore all dimensions of the core topic and discuss the solutions to address the problem.
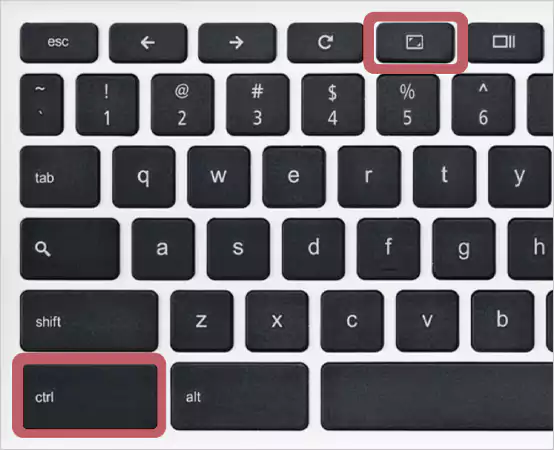
Utilizing the keyboard shortcut method helps in taking screenshots of the entire screen. Here, the user doesn’t have the choice of selecting any specific part of the screen to capture. To use this feature
This feature allows the user to take screenshots of a specific part of the screen. To take such screenshots,
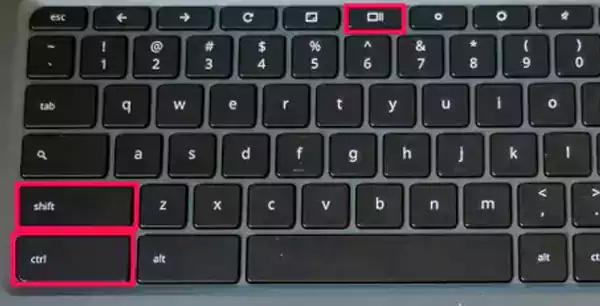
Once you leave the mouse click or pick the finger from the touchpad, the screenshot will be captured and saved in the downloads.
This method allows you to take screenshots without using any keyboard shortcut. You have to use the toolbar to access this feature. The steps to take the same are as follows:
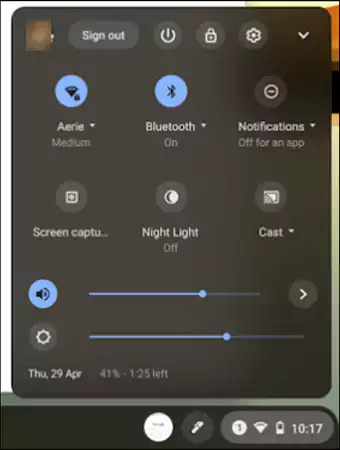
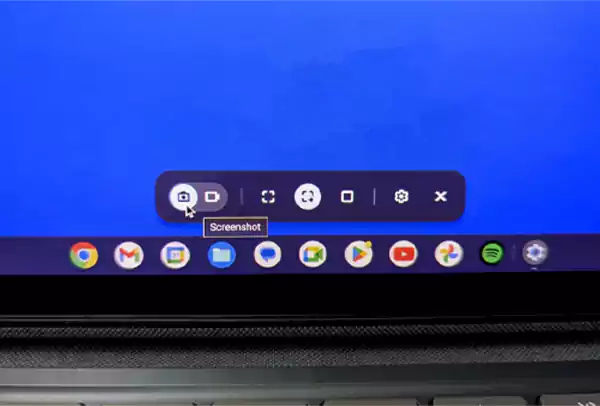
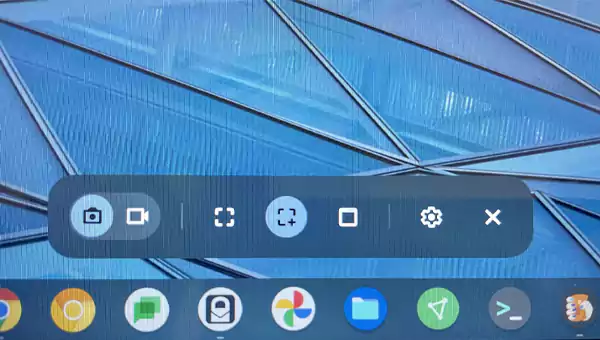
If the user is operating the Chromebook in tablet mode, using the side keys will make it easy for them to take screenshots. To use this feature
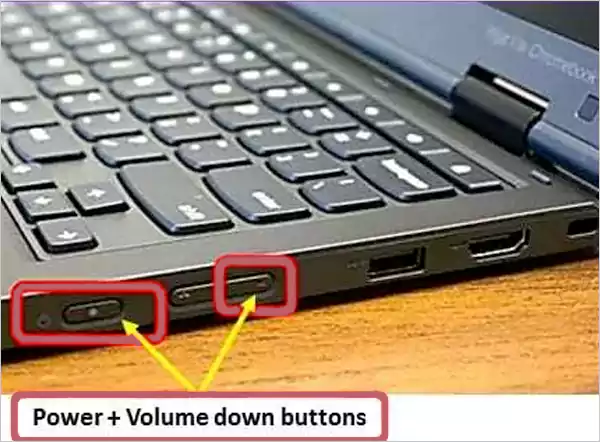
This can be done by simultaneously It will take a screenshot of the entire screen.
Here is another way to take screenshots of a part of the screen, which requires a stylus to capture a specific part of the Chromebook’s screen. Below are the steps to use this feature.
To simplify the above-mentioned procedures, some developers have come up with certain 3rd party programs. Such software overcomes the shortcomings of Chrome OS screenshot tools.
Some of the best software for this is as follows:
Well, now that you know how to take a screenshot on a Chromebook, the next prominent question that surfaces is where these screenshots get saved.
In the subsequent section, we have elaborated on the spaces where you can find these saved screenshots.
The Chromebook immediately saves the screenshot, be it a fullscreen or selective screenshot. After taking the screenshots, the user desires to trace the captured screenshots.
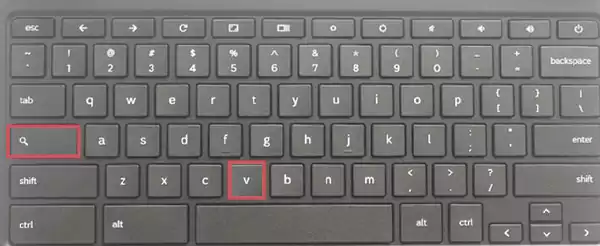
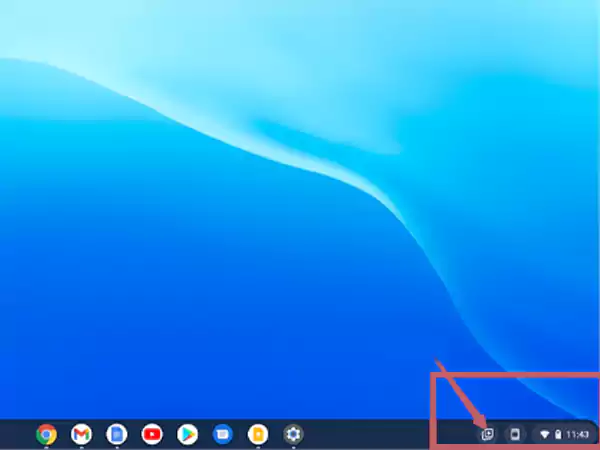
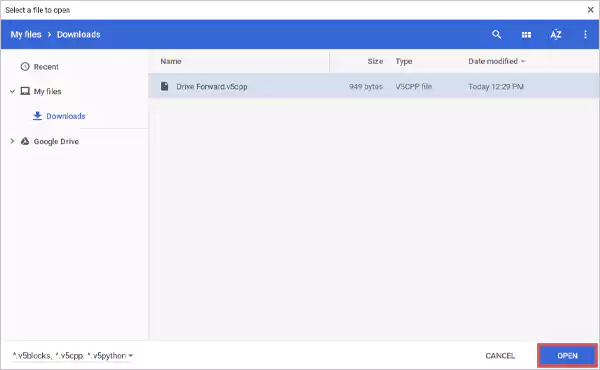
The saved screenshot can be located using the above methods. But what if the user wishes to change the location of the saved screenshots?
Let us address this doubt comprehensively.
If the user wants to change the location of the saved screenshots, here are the steps for it.
Step 1: Press Ctrl + Shift + Show Windows keys.
Step 2: Go to settings -> Click “Select Folder”.
Step 3: Choose the new location and save it.
The screenshots taken after executing the above steps will be saved to the new location.
Furthermore, the 6 above-mentioned techniques will help Chromebook users facing trouble over how to take a screenshot on a Chromebook.
The 6 methods discussed above will help Chromebook users resolve the issue of how to take a screenshot on a Chromebook. These plausible methods will facilitate capturing, storing, editing, and sharing screenshots.
As the screenshots captured will occupy memory, it is advisable to use an external hard drive or other memory options to store screenshots in bulk and free up local storage.
Yes, screenshots can be taken on Chromebook in tablet mode by either pressing the “Power and Volume down” buttons or using the stylus by pressing the stylus button, which will open a dropdown. Then choose the screen capture tool.
Software such as Awesome Screenshots, Flamory, and Lightshot are some programs used for taking screenshots on the Chromebook.
The keyboard shortcuts to capture screenshots in the screenshot are “Ctrl + Show Window” (for entire screen capture) and “Ctrl + Shift + Show Window” (for selective screen capture).
Yes, Chromebook comes with a Chrome OS, which differs from Windows in software compatibility, security features, operation speed, and ease of usage.
The screenshots taken are stored directly in the “Downloads” folder in local storage.